Introduction
In the cryptocurrency world, DEX (Decentralized Exchange) bots have gained significant attention. Automated trading bots can perform repetitive tasks at speeds impossible for a human, making them highly useful for market making and grid trading strategies. This tutorial focuses on MetalX DEX Bot, which supports both market making and grid trading strategies on the MetalX.com exchange.
What is Market Making?
Market making involves placing buy and sell orders in the market at different price levels. The aim is to earn the spread between the buy and sell prices. Market makers provide liquidity to the market, facilitating trading for other market participants.
What is Grid Trading?
Grid trading is a strategy that aims to capitalize on market volatility. It places a range of buy and sell orders at different price levels within a predefined range. When prices fluctuate, the bot automatically buys low and sells high, making profits within the range.
Prerequisites
A WebAuth.com account with enough funds for trading
Nodejs and npm installed on your computer
VS Code (or some other editor)
Let's get started!
Download and install Nodejs from here.
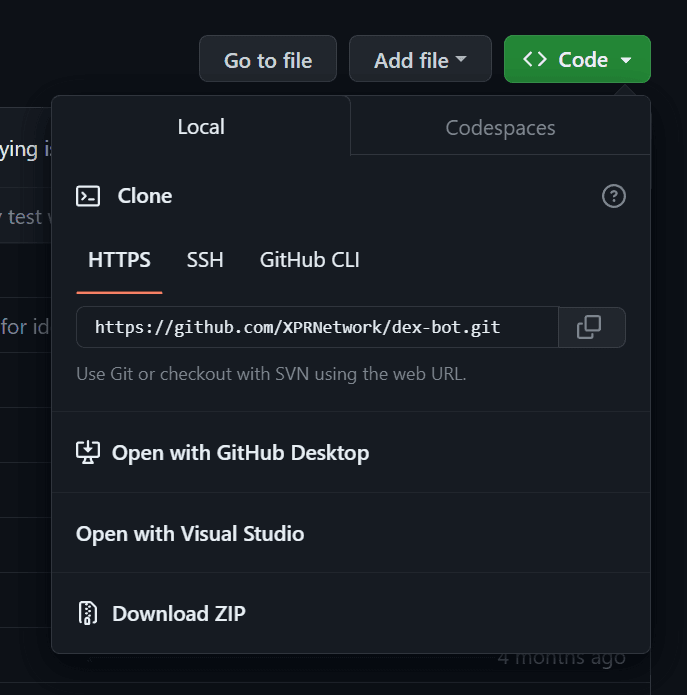
First we need to clone the dex-bot repo somewhere on your computer.
Simply open the Terminal (on macOS) or Powershell (on Windows)
Find a good location using terminal and clone the repo using the following command;
git clone https://github.com/XPRNetwork/dex-bot.gitYou can also download the zip file full of code and extract it somewhere if you don't have git installed.
Open VS Code and open the dex-bot folder
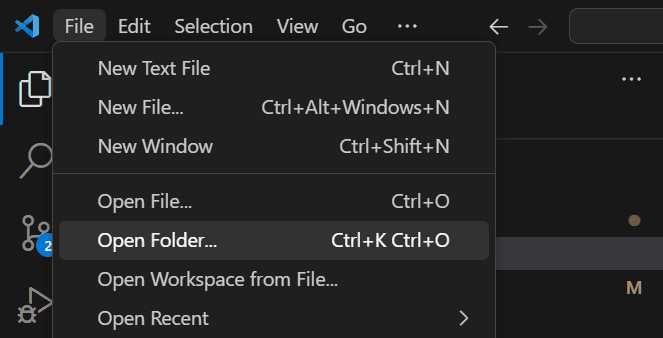
Select View > Terminal to open up a new terminal window
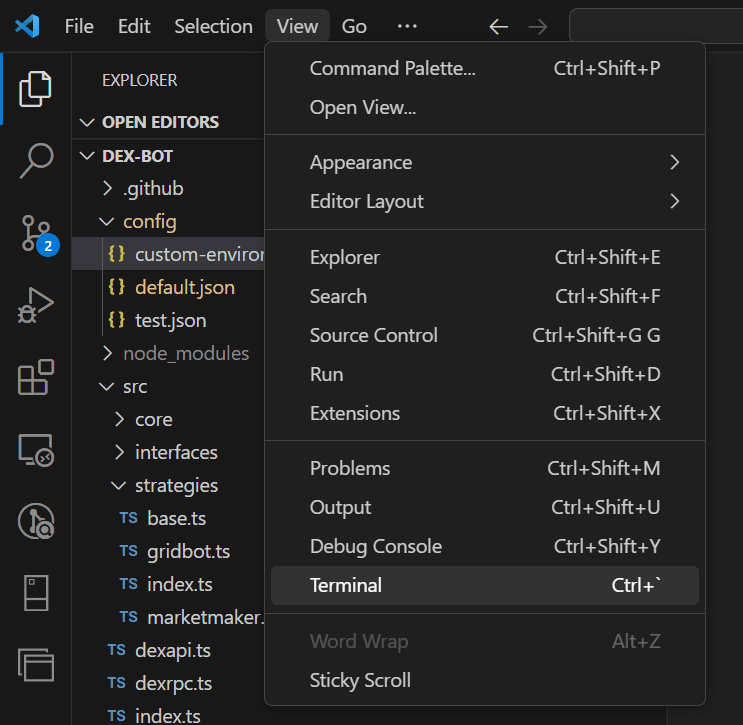
Make sure you're in the correct directory in the terminal (inside the dex-bot folder) and run the following command to install the bot
npm install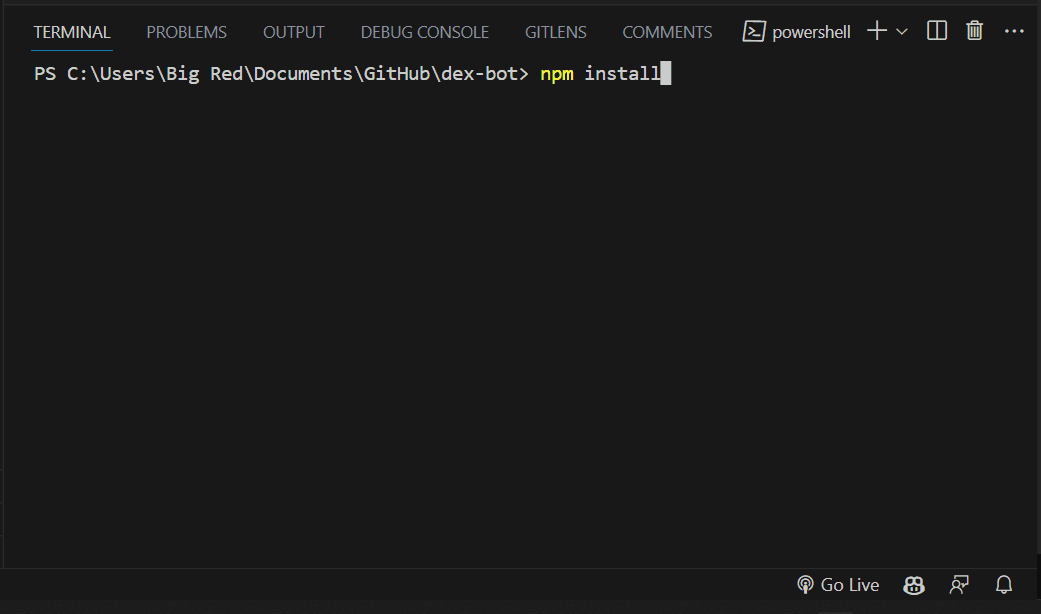
Once that is finished, open the default.json file inside the config folder;

Here we will make sure that the "strategy" parameter is set to "gridBot" and the "cancelOpenOrdersOnExit" to true.
"cancelOpenOrdersOnExit": true,Then we will edit the "pairs" object below gridBot with the markets we would like to setup a grid bot for. We can choose multiple markets, but let's start simple with XPR_XMD
You can copy the configuration file below and paste it over your default.json file;
{
  "bot" : {
    "tradeIntervalMS": "10000",
    "slackIntervalMS": "1000000",
    "slackBotToken": "",
    "channelId": "",
    "cancelOpenOrdersOnExit": true,
    "strategy": "gridBot",
    "marketMaker": {
      "pairs": [
        {
          "symbol": "XPR_XMD",
          "gridLevels": 4,
          "gridInterval": 0.005,
          "base": "AVERAGE",
          "orderSide": "BOTH"
        }
      ]
    },
    "gridBot": {
      "pairs": [
        {
          "symbol": "XPR_XMD",
          "upperLimit": 0.0009000,
          "lowerLimit": 0.0006000,
          "gridLevels": 14,
          "bidAmountPerLevel": 40000
        }
      ]
    },
    "rpc": {
      "privateKeyPermission": "active",
      "endpoints" : [
        "https://mainnet-rpc.api.protondex.com"
      ],
      "apiRoot": "https://mainnet.api.protondex.com/dex",
      "lightApiRoot": "https://lightapi.eosamsterdam.net/api"
    }
  }
}
symbol - the market pair, it might be XBTC_XMD for Bitcoin / Metal Dollar market for example.
upperLimit - the highest price the grid bot will set a sell order at
lowerLimit - the lowest price the grid bot will set a buy order at
gridLevels - how many orders should the bot place
bidAmountPerLevel - the amount of XPR or base token to bid each side
In the example above, we are trading on the XPR_XMD pair, upper price limit is 0.0009 and lower limit is 0.0006. We are setting 14 orders spread between the upper and lower and we are bidding 40'000 XPR each time or approx. $42 at time of writing.
Now save the file and down in the terminal again we are going to tell the bot which account we are going to trade with and the private key for that account using environment variables.
You will need to enter these each time you restart your machine as it saves it in memory.
Depending on your operating system you will need to change the way you enter these;
Mac and Linux:
export PROTON_USERNAME=user1
export PROTON_PRIVATE_KEY=private_key
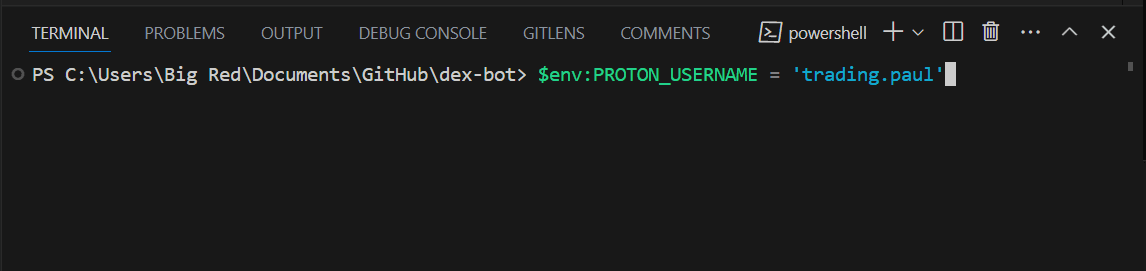
Windows using powershell:
$env:PROTON_USERNAME = 'user1'
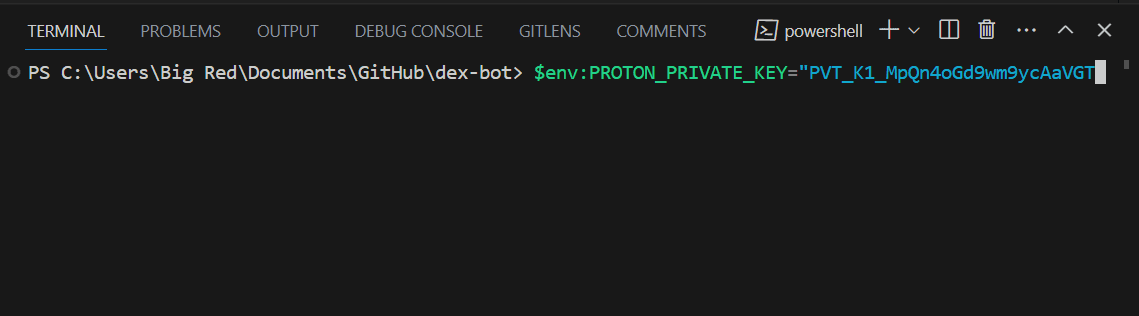
$env:PROTON_PRIVATE_KEY = 'private_key'In the terminal on Windows it may look like this;
Press enter to save to memory. Then do the same for your private key;
Now that your account name and private key are in memory we can run the bot!
Simply run;
npm run botYou will see in the terminal some basic information about the orders the bot is setting;
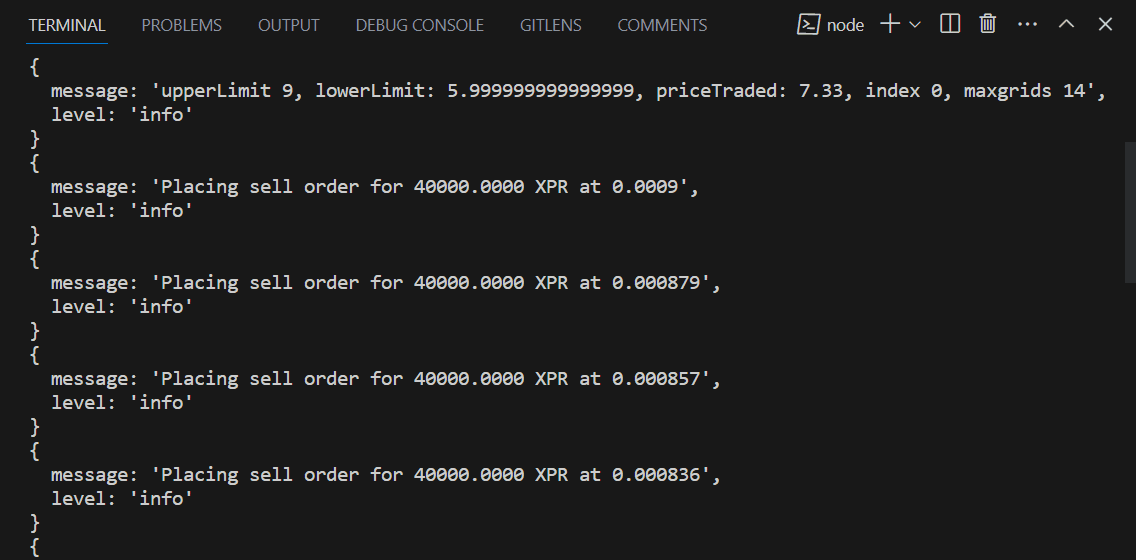
Now you can visit Metal X and look at the market you chose and should see your orders at various price levels;
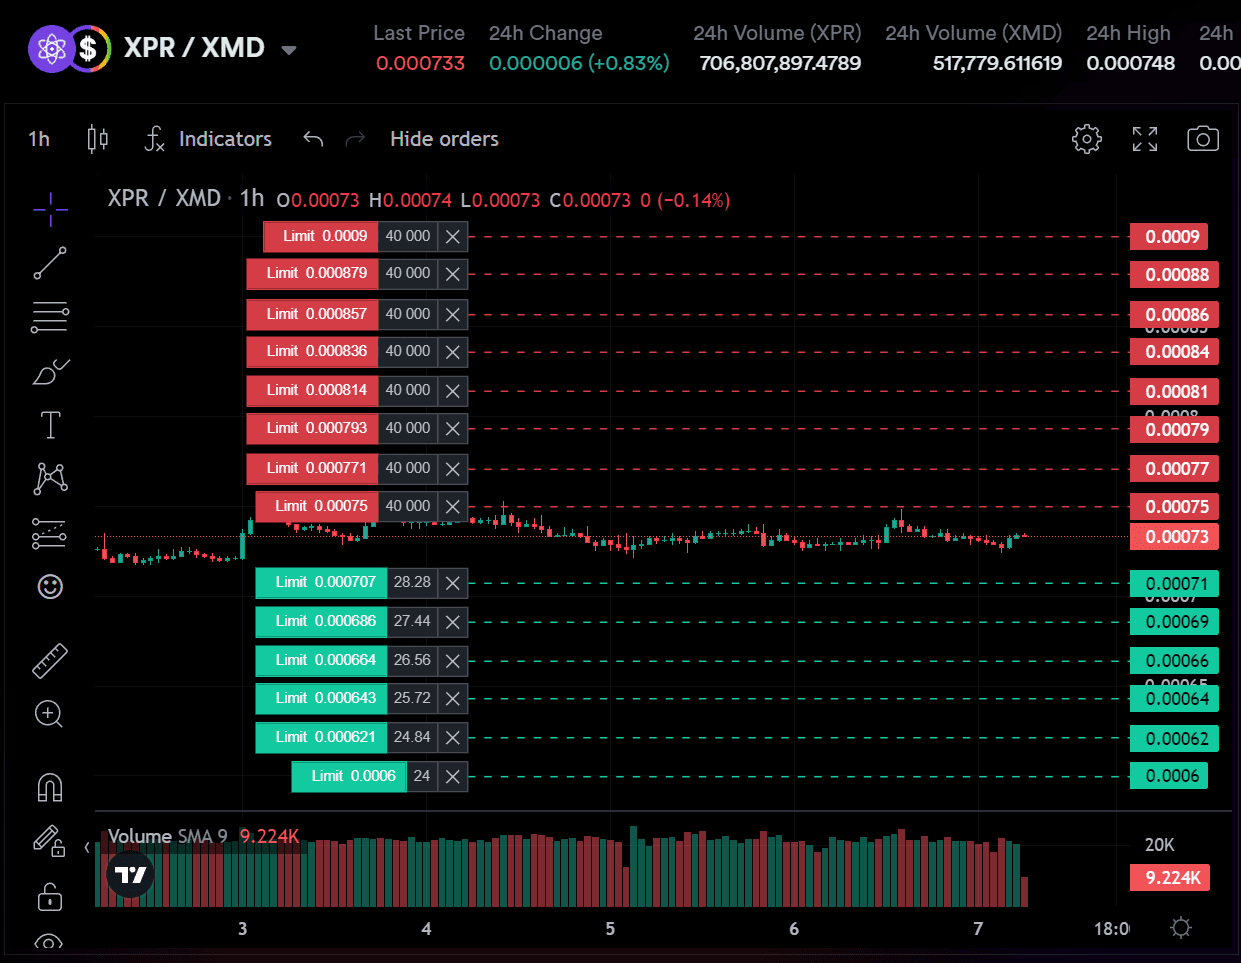
You can see the orders are spread between your upper and lower price points we set in default.json config file.
To cancel or stop the bot simply select the terminal again and press Ctrl + C (Cmd + C on macOS) and the bot will automatically cancel all open orders before exiting.
Congratulations on setting up your first bot!
Some things to remember;
Minimum order is $1 or 1 XMD on Metal X
Bot will automatically add more orders once old ones are filled
Keep your private key protected
If you have trouble using the trading interface make sure you have verified identity
If you have any questions please visit the Metal X Discord channel.
Introduction
In the cryptocurrency world, DEX (Decentralized Exchange) bots have gained significant attention. Automated trading bots can perform repetitive tasks at speeds impossible for a human, making them highly useful for market making and grid trading strategies. This tutorial focuses on MetalX DEX Bot, which supports both market making and grid trading strategies on the MetalX.com exchange.
What is Market Making?
Market making involves placing buy and sell orders in the market at different price levels. The aim is to earn the spread between the buy and sell prices. Market makers provide liquidity to the market, facilitating trading for other market participants.
What is Grid Trading?
Grid trading is a strategy that aims to capitalize on market volatility. It places a range of buy and sell orders at different price levels within a predefined range. When prices fluctuate, the bot automatically buys low and sells high, making profits within the range.
Prerequisites
A WebAuth.com account with enough funds for trading
Nodejs and npm installed on your computer
VS Code (or some other editor)
Let's get started!
Download and install Nodejs from here.
First we need to clone the dex-bot repo somewhere on your computer.
Simply open the Terminal (on macOS) or Powershell (on Windows)
Find a good location using terminal and clone the repo using the following command;
git clone https://github.com/XPRNetwork/dex-bot.gitYou can also download the zip file full of code and extract it somewhere if you don't have git installed.
Open VS Code and open the dex-bot folder
Select View > Terminal to open up a new terminal window
Make sure you're in the correct directory in the terminal (inside the dex-bot folder) and run the following command to install the bot
npm installOnce that is finished, open the default.json file inside the config folder;
Here we will make sure that the "strategy" parameter is set to "gridBot" and the "cancelOpenOrdersOnExit" to true.
"cancelOpenOrdersOnExit": true,Then we will edit the "pairs" object below gridBot with the markets we would like to setup a grid bot for. We can choose multiple markets, but let's start simple with XPR_XMD
You can copy the configuration file below and paste it over your default.json file;
{
  "bot" : {
    "tradeIntervalMS": "10000",
    "slackIntervalMS": "1000000",
    "slackBotToken": "",
    "channelId": "",
    "cancelOpenOrdersOnExit": true,
    "strategy": "gridBot",
    "marketMaker": {
      "pairs": [
        {
          "symbol": "XPR_XMD",
          "gridLevels": 4,
          "gridInterval": 0.005,
          "base": "AVERAGE",
          "orderSide": "BOTH"
        }
      ]
    },
    "gridBot": {
      "pairs": [
        {
          "symbol": "XPR_XMD",
          "upperLimit": 0.0009000,
          "lowerLimit": 0.0006000,
          "gridLevels": 14,
          "bidAmountPerLevel": 40000
        }
      ]
    },
    "rpc": {
      "privateKeyPermission": "active",
      "endpoints" : [
        "https://mainnet-rpc.api.protondex.com"
      ],
      "apiRoot": "https://mainnet.api.protondex.com/dex",
      "lightApiRoot": "https://lightapi.eosamsterdam.net/api"
    }
  }
}
symbol - the market pair, it might be XBTC_XMD for Bitcoin / Metal Dollar market for example.
upperLimit - the highest price the grid bot will set a sell order at
lowerLimit - the lowest price the grid bot will set a buy order at
gridLevels - how many orders should the bot place
bidAmountPerLevel - the amount of XPR or base token to bid each side
In the example above, we are trading on the XPR_XMD pair, upper price limit is 0.0009 and lower limit is 0.0006. We are setting 14 orders spread between the upper and lower and we are bidding 40'000 XPR each time or approx. $42 at time of writing.
Now save the file and down in the terminal again we are going to tell the bot which account we are going to trade with and the private key for that account using environment variables.
You will need to enter these each time you restart your machine as it saves it in memory.
Depending on your operating system you will need to change the way you enter these;
Mac and Linux:
export PROTON_USERNAME=user1
export PROTON_PRIVATE_KEY=private_key

Windows using powershell:
$env:PROTON_USERNAME = 'user1'
$env:PROTON_PRIVATE_KEY = 'private_key'
In the terminal on Windows it may look like this;
Press enter to save to memory. Then do the same for your private key;
Now that your account name and private key are in memory we can run the bot!
Simply run;
npm run botYou will see in the terminal some basic information about the orders the bot is setting;
Now you can visit Metal X and look at the market you chose and should see your orders at various price levels;
You can see the orders are spread between your upper and lower price points we set in default.json config file.
To cancel or stop the bot simply select the terminal again and press Ctrl + C (Cmd + C on macOS) and the bot will automatically cancel all open orders before exiting.
Congratulations on setting up your first bot!
Some things to remember;
Minimum order is $1 or 1 XMD on Metal X
Bot will automatically add more orders once old ones are filled
Keep your private key protected
If you have trouble using the trading interface make sure you have verified identity
If you have any questions please visit the Metal X Discord channel.

Metal X is a service of Metallicus, Inc., a licensed provider of money transfer services (NMLS ID: 2057807).
All money transmission is provided by Metallicus, Inc. pursuant to Metallicus, Inc.’s licenses. © 2024 Metallicus, Inc.
License issued to Metallicus by the Louisiana Office of Financial Institutions does not cover the exchange or transmission of virtual currency. All money transmission is provided by Metallicus, Inc. pursuant to Metallicus, Inc.'s licenses and/or the applicable law depending on the jurisdiction.